
A door or window can be built exactly to your drawings and still arrive with a dented frame or a scratched panel if it isn’t packed properly. Doors and windows are large, heavy and awkward to handle, and they usually change hands several times before they reach your site.
This article walks through how our own team packed a real HARDWORKING door and window order, using photos taken during packing and loading. It shows what we did on this shipment. The packing for your order will depend on the products, quantities and any requirements you share with us.
Why packing matters for door and window orders
In transit, the risks are simple: a frame corner takes a knock, one panel rubs against another, or a pack is dropped while it’s moved by hand. Good packing aims to do three things:
- keep each piece from moving inside its pack;
- combine packs into larger units that are lifted by machine, not carried;
- label everything so it can be identified without opening it.
The steps below follow that order.
Step 1: Carton and label each pack
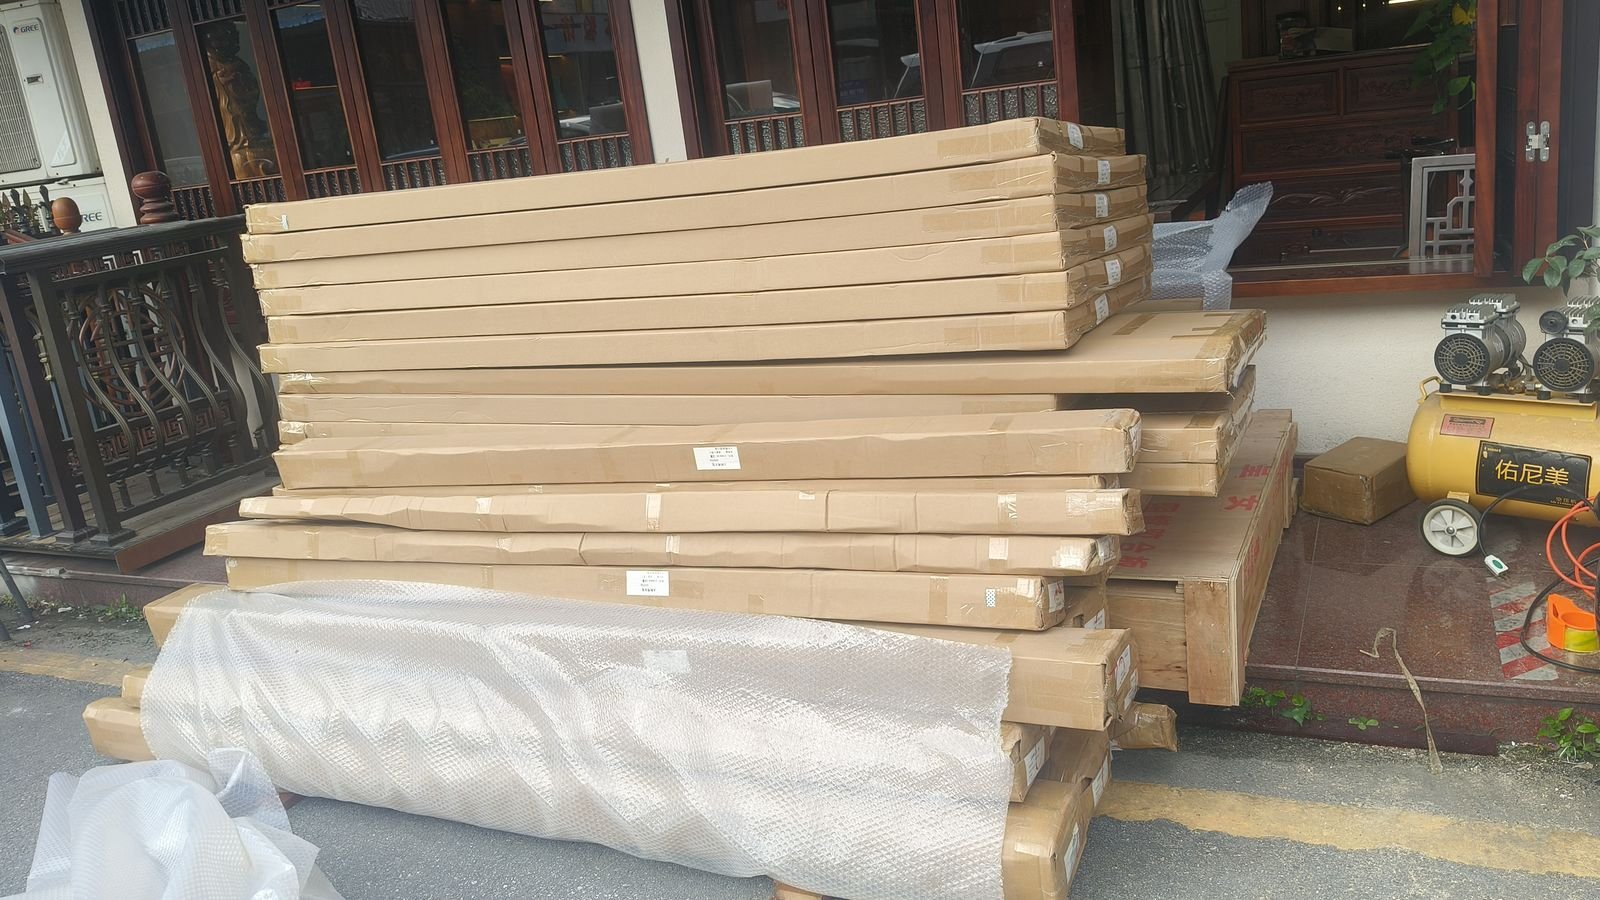
Door and window components are first packed into flat cartons. Each carton is taped closed and carries a printed label. Long or irregular items that don’t fit a standard carton get an extra layer of bubble wrap.
Packing is the last stage before goods leave, so it helps to agree on any checks before this point. Our pre-shipment inspection checklist for doors and windows explains what can be reviewed before goods are packed and released.
Step 2: Stretch wrap, strapping and a wooden crate
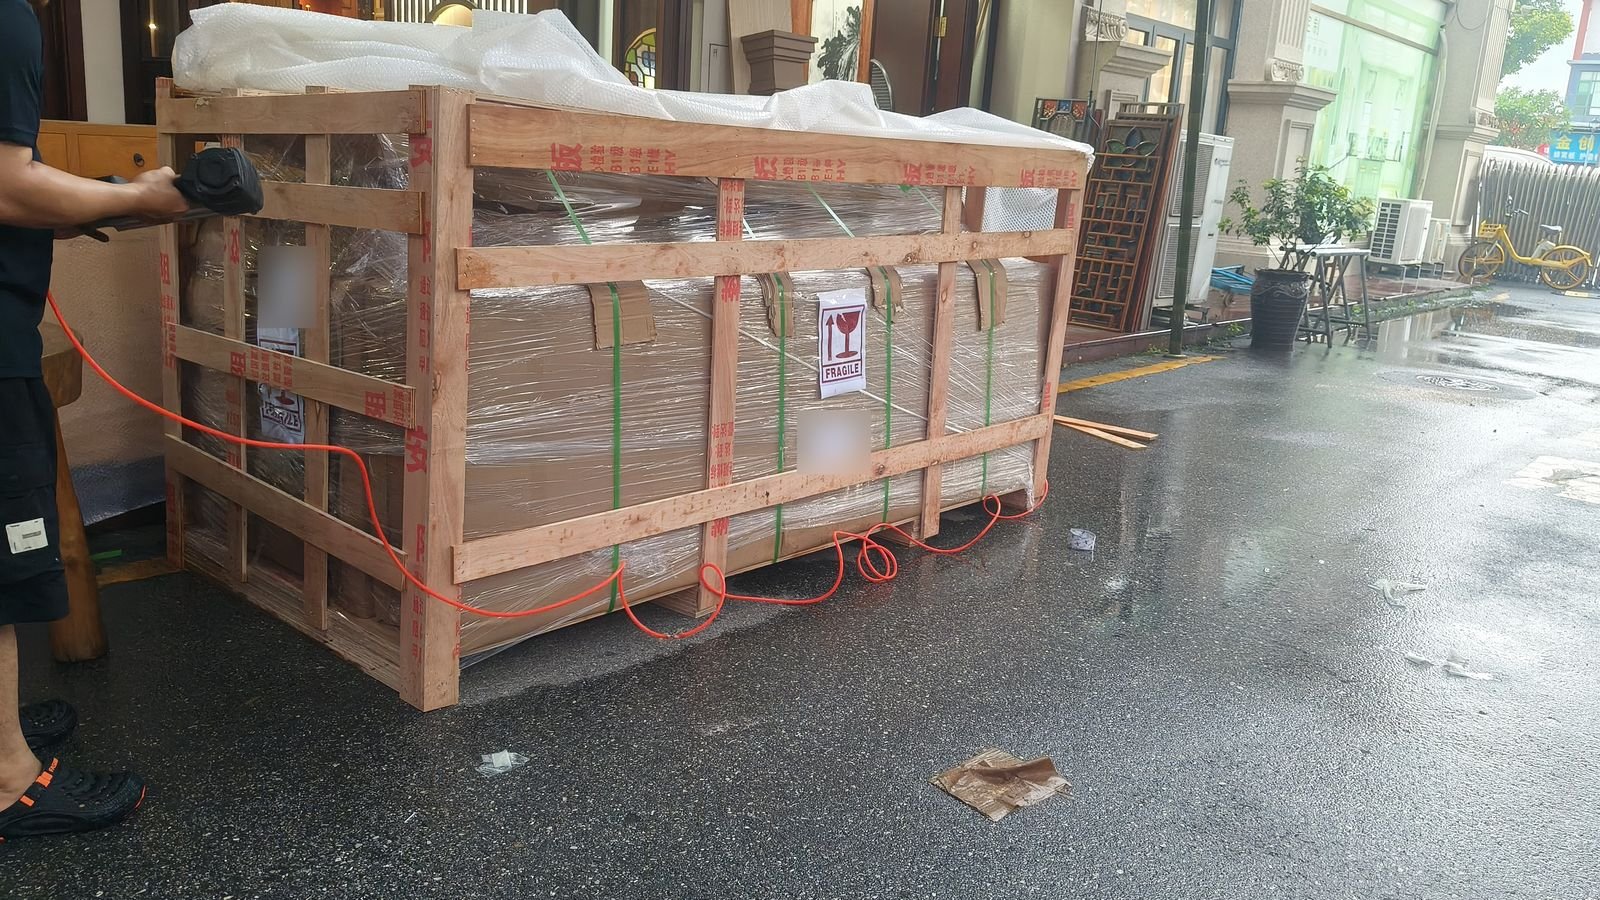
Next, the cartons are stacked tightly, stretch-wrapped into one load and held together with strapping. Our team then builds a wooden crate around the wrapped load, so the crate is sized to the stack. The top is covered with plastic sheeting.
The crate adds a rigid outer frame. The cartons inside are protected from side impacts and can’t shift against each other while the load is moved.
Step 3: Loading the crate
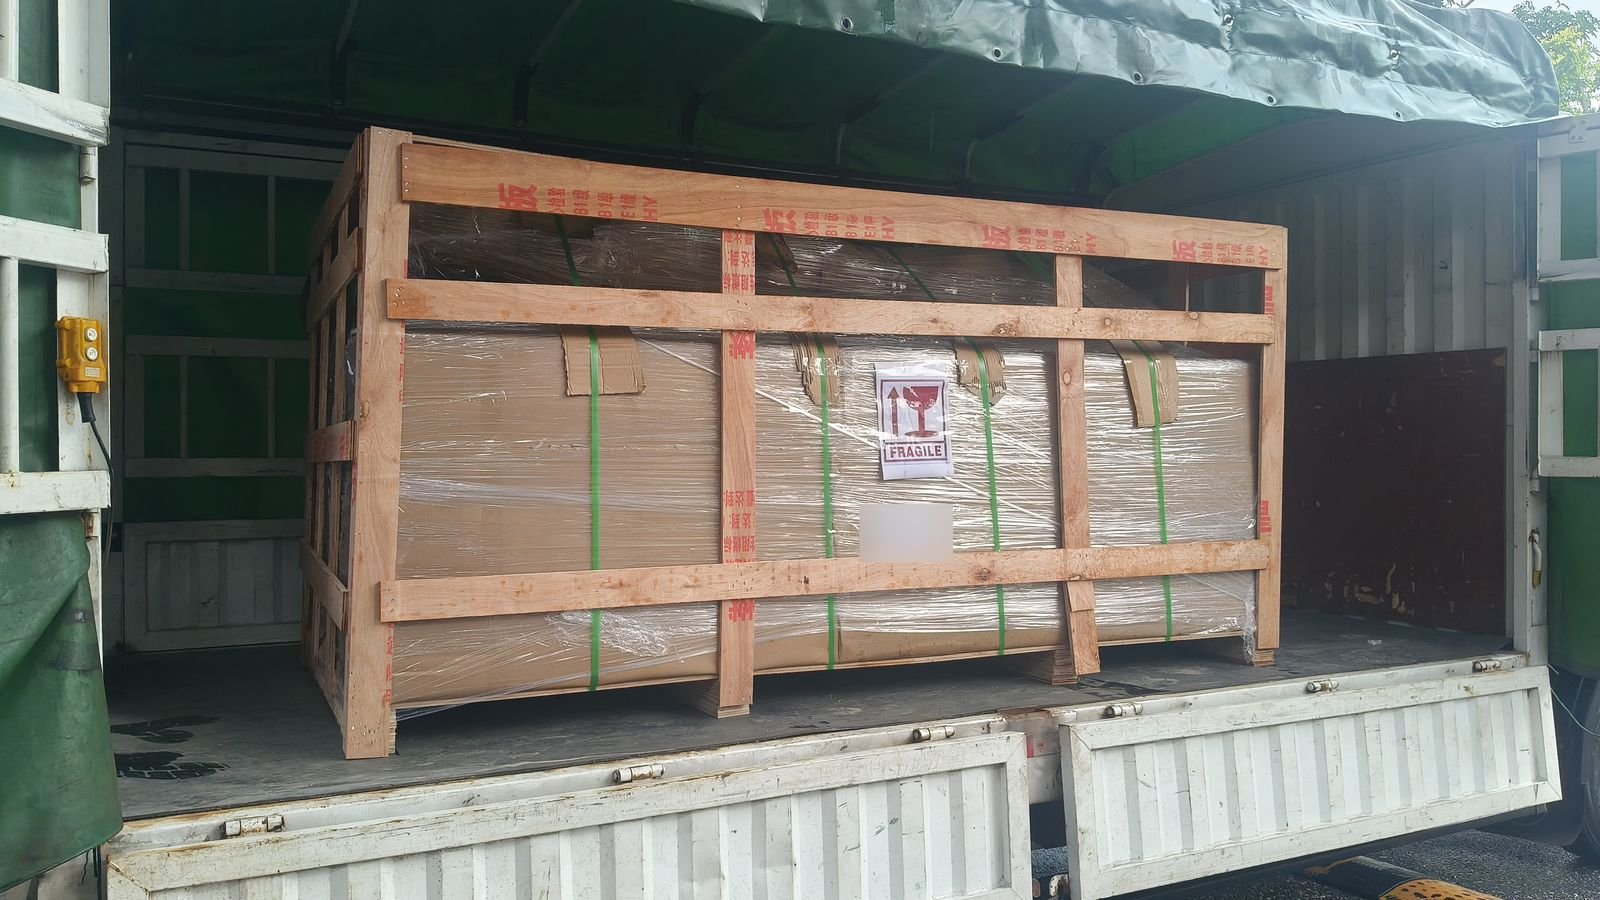
Once it’s finished, the crate is loaded onto a covered truck and set flat on the truck bed. Because the load is crated, it is lifted and placed as one unit rather than handled carton by carton.
Step 4: Palletize and load by forklift
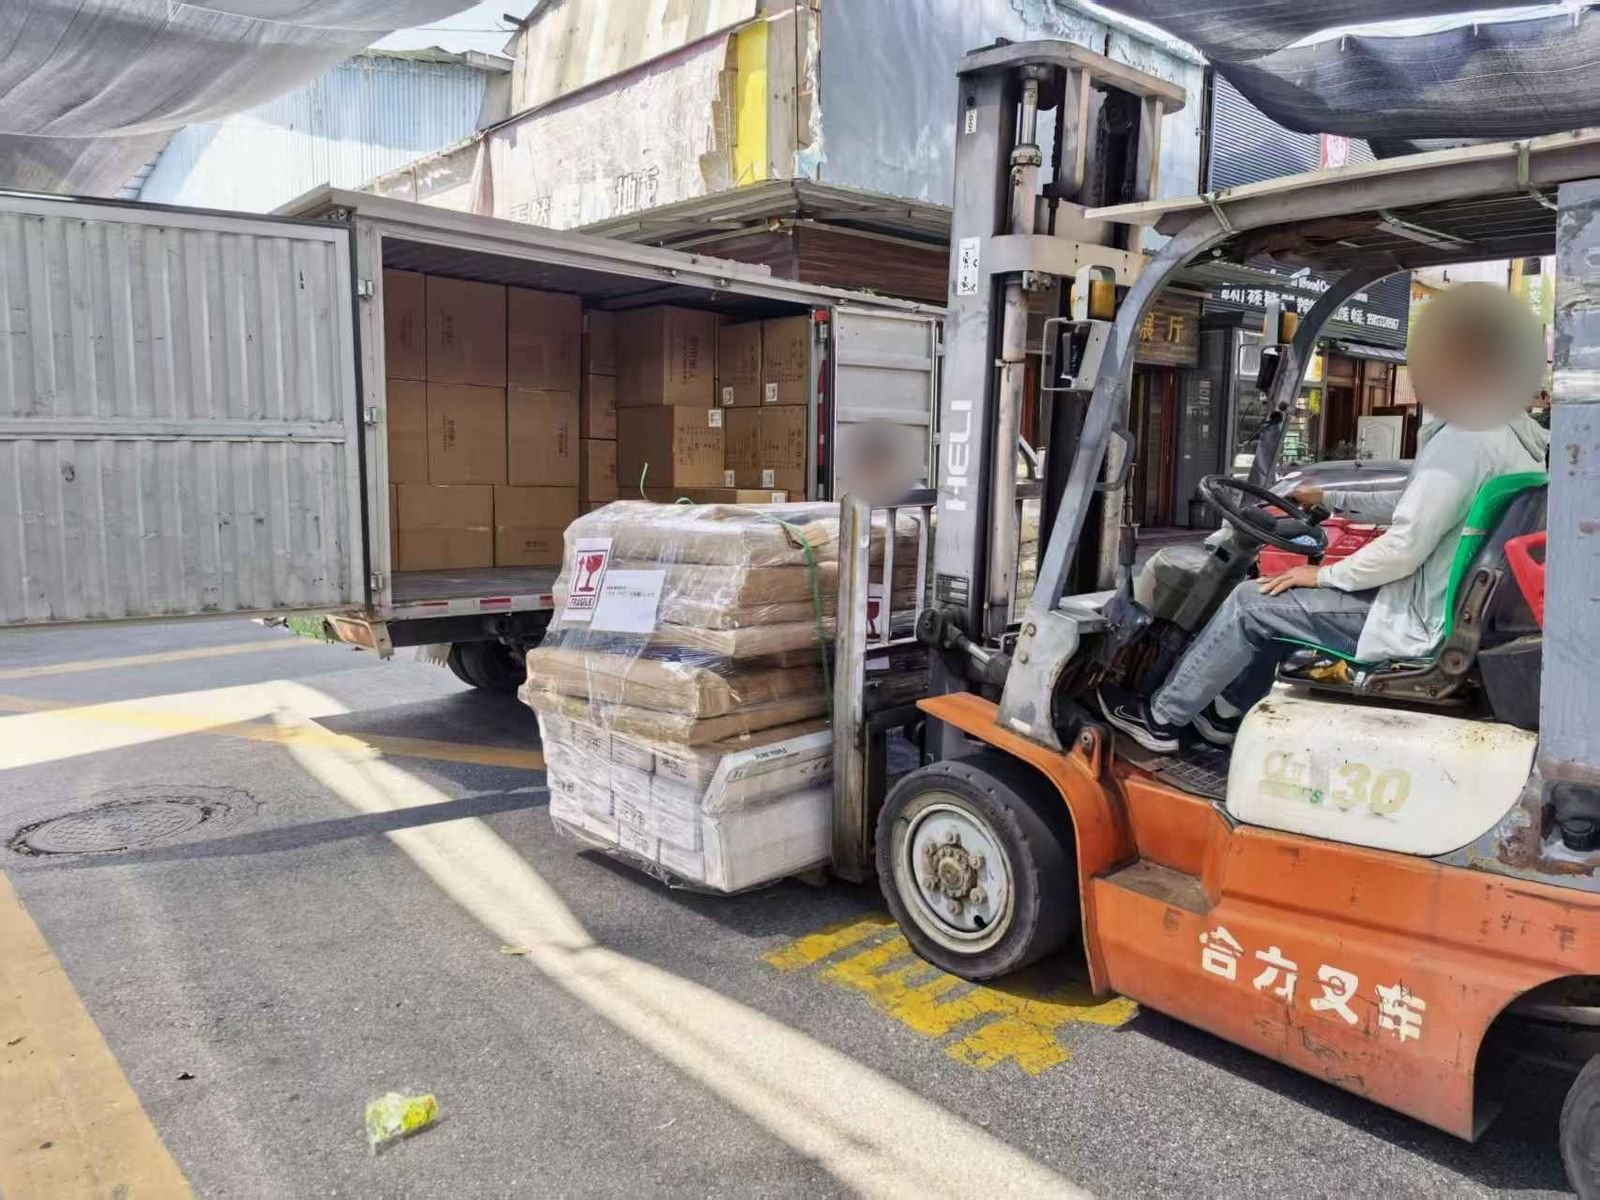
Other packs are stacked on a pallet, stretch-wrapped together and labeled. A forklift then carries the pallet straight into the box truck, so the wrapped load stays in one piece instead of being broken down and carried by hand.
Labels that travel with the goods
On this order, the crate and pallet carried a FRAGILE pictogram, the broken-glass symbol, and a printed reference label. Labels like these tell everyone who handles the shipment to treat it with care, and they help your team identify each crate or pallet when it arrives.
If your project needs specific markings, such as opening IDs, room names, unit numbers or delivery phases, include them in your inquiry. Our guides to buying custom entry and interior doors and preparing custom window specifications explain how to set up opening IDs that stay consistent from the quotation onward.
What to check when your shipment arrives
A few simple checks at delivery make any problem much easier to sort out:
- Count before you sign. Compare the number of crates and pallets with your delivery document.
- Look at the outside first. Check for crushed corners, broken crate boards, torn wrap or wet cartons. Photograph any damage before the goods are moved.
- Note damage on the delivery receipt. If something looks wrong, write it on the delivery paperwork before signing.
- Unpack and check against your schedule. Match doors and windows to your opening IDs, and check sizes, handing, finish, glass and hardware.
- Keep the packaging until you’ve checked. Damaged packaging shows what happened in transit.
- Contact us promptly with photos. Send clear photos of the labels, the packaging and the issue to our team.
Share your packing requirements before you order
Packing works best when it’s planned with the order, not after production. If your project has requirements for crates, pallets, labels or the way items are grouped, include them with your drawings and product list, and we’ll take them into account in the quotation discussion.
Ready to start? Send us your drawings and requirements.
Ready to organize your project requirements?
Share drawings, quantities, room sizes or reference images through the project inquiry form.